Installing and configuring WP Deployer
Required configuration
WP Deployer requires PHP 7.3 or higher.
WP Deployer requires WordPress 5.8 or higher.
^
Download WP Deployer
Once you've purchased WP Deployer, you can directly download the zip file from your account.
^Installation
The plugin installs like any other standard plugins.
See official documentation installation.
However, please note the following:
Important: To ensure proper identification of content across your various sites, it is imperative that all your sites start from the same base with WP Deployer activated beforehand.
To ensure proper installation, we recommend you follow one of these scenarios depending on your case:
Is my site already online?
Install, activate, and configure WP Deployer on your production site, activate it, and configure it. Once you've done this, create a copy of your database, then replace the database of your other sites, as well as the media files, themes and plugins used.
My site is under development?
Install, activate, and configure WP Deployer on your most accomplished site. Once this is done, create a copy of your database and then replace the database of your other sites, as well as the media files, themes and plugins used.
I'm starting a new project?
When you have a reference environment, install, activate, and configure WP Deployer on it. Once you've done that, create a copy of your database and then replace the database of your other sites, as well as the media files, themes and plugins used.
^Settings
Go to admin -> WP Deployer -> Settings
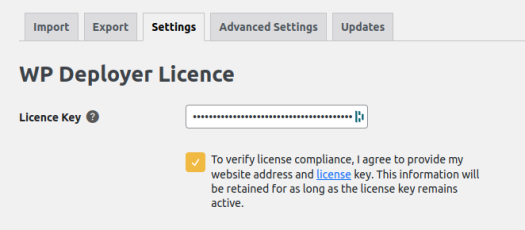
The WP Deployer license
To find your license key, go to your WP Deployer account:
https://wp-deployer.io/en/user/
Note : If you don't have a key, you can choose from our subscription offers, or contact us for a personalized quote.
Copy/paste your key into the Licence Key and submit.
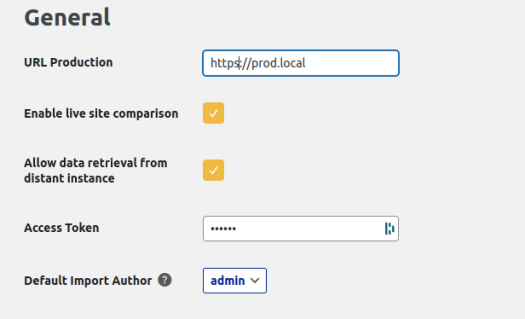
General
- URL production : The URL of the site you want to deploy to. If you are already on the production site, simply put the URL of the current site.
- Enable live site comparison : Enable or disable comparison between environments. If checked on the production instance, this allows development instances to query it to perform content comparisons via the network.
- Allow data retrieval from distant instance : Whether or not to enable synchronization between production and development environments. If the option is checked on the production instance, this allows development instances to query the production instance to remotely retrieve production data.
- Access Token : A unique security token generated automatically to authenticate a customer's different environments. You can modify it if you wish, but it must be identical between your sites so that they can communicate.
- Default import Author : This feature allows you to change the author or assign to a default author if the author doesn't exist.
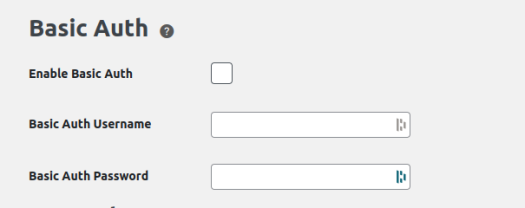
Basic Auth
Allows you to connect to a server or page protected by basic authentication.
- Enable Basic Auth : Enable basic authentication or not.
- Basic Auth Username : User name
- Basic Auth Password : User Password
Advanced settings
Note : This section provides a summary of advanced settings. See section "Configuring a new plugin" if you want more details.
Go to admin -> WP Deployer -> Advanced Settings
For more information see the "Configure a custom plugin" section.
Schema
Configuration of data tables present on the environment.
This is where you define which tables you want deployed, and how the data is handled during the export-import process.
Processors
Control how data is to be processed for deployment. For example, this allows you to define that a value should be treated as an import author (see above Default import Author), or to trigger a cache flush on import.
Exclusions
Allows you to exclude elements from the export based on their values. This is how "transient" values are excluded from deployments.
^